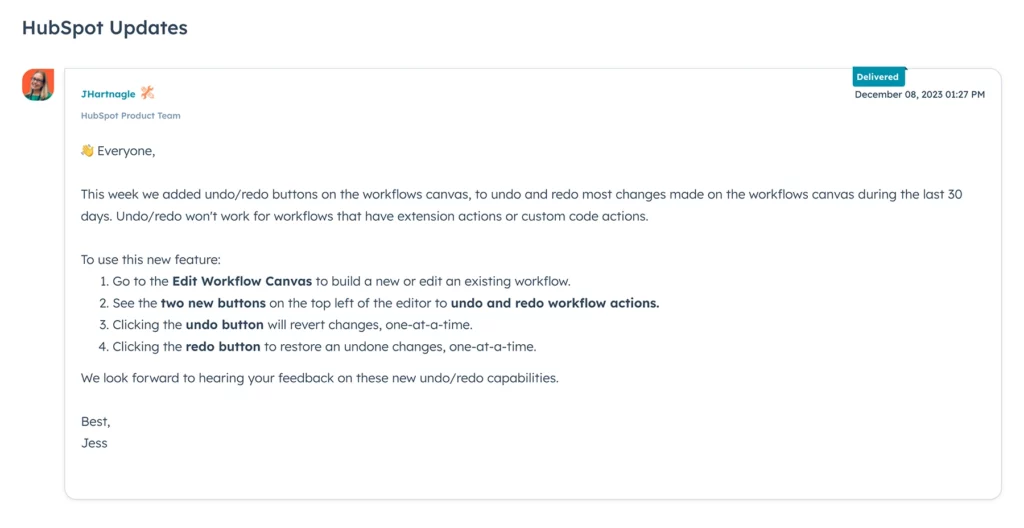
The guide was originally created before HubSpot added an undo workflow feature. You may use this alternative method to revert all property changes after activating your Workflow if you choose not to use the native HubSpot undo feature.
You can export historical property values to the time before the change and then import the values back into your HubSpot portal to update the property.
*Update*
HubSpot has now delivered the idea submitted for an “undo workflow” feature as of 12/08/2023.

Time needed: 15 minutes
5 Easy Steps to Revert Your HubSpot Property Changes
- Export HubSpot Property History
Go to Settings -> Properties and select the Filter dropdown to Company/Contact/Deal/Ticket property then search for the name of the property that you want to change.
When you find the property, hover over the property with your cursor to reveal More then click Export property history.
You will receive an on-screen notification and an email once the export has been complete and delivered. The download link to the email will remain active for 30 days. - Edit the Export Property History File
Open up the file and apply data Filters to Row 1 (heading) of your spreadsheet. The spreadsheet data is displayed from most recent (left) to oldest (right) property values.
In column D (often the most recent property values), filter to the date when incorrect property values were changed by your workflow.
In Excel, the filters will automatically be applied as you select and deselect dates. - Copy Filtered Property Values to New Spreadsheet
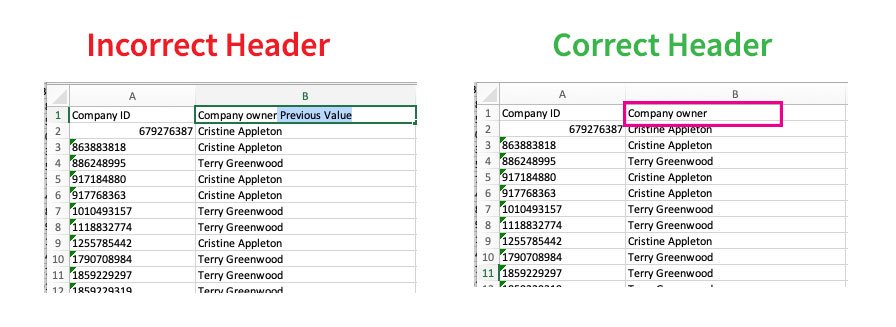
Open a new spreadsheet and copy the properties you wish to import as the correct values. Make sure to include a column that identifies the record, such as a Company ID. Also update the header to reflect existing property value names in HubSpot.

Save the new file as an XLSX or CSV. - Import New File to HubSpot
From your HubSpot Imports page (https://app.hubspot.com/import/[yourportal ID]), select Start an Import -> File from computer -> One file – > One object -> Select the Object Type.
Check the box for updating existing objects exported from HubSpot to make sure you are not creating any duplicates.
- Verify and Done
Review a few records to ensure the import has reverted to the correct property.
Congrats – You have successfully reverted a HubSpot Property to a previous historical value!
Troubleshooting Blank Values
If you are trying to revert a property value that was previously blank, you may encounter an error when importing objects. To apply blank fields to the property, after Step 5 -> Create a Static List with Imported File -> Bulk Edit the selected property to be blank.
If bulk editing isn’t an option, you can create a workflow with the enrollment trigger as the list membership, and then add the action to set Clear property value.
You can turn off the workflow once the action has been completed.
Save Time By Using HubSpot’s Historical Data
As humans, we can make mistakes in our complex Workflow enrollment triggers or internal company changes outside your control impacts property values – it’s good to know that we can always reference a property’s historical data to revert changes.
Hopefully, this guide helps relieves some stress and saves some hours of your day!

With over 10+ years of experience in marketing and design, Jiun help businesses manage and execute marketing campaigns, track goal metrics, develop SEO-friendly content, optimize the buyer lifecycle, and collaborate with multiple partners, vendors, and press to maximize a brand’s lead acquisition strategy. Her background in marketing, graphic design, and front-end web development allows her to easily plan, communicate, and develop projects to meet your organizational goals.


Gie Re
This was super helpful. Thank you for sharing. Saved me many hours of work.
SILVA
loved it …. thx!!!!!!